Dec 20, 2024
What is the proper way to charge an eBike battery?
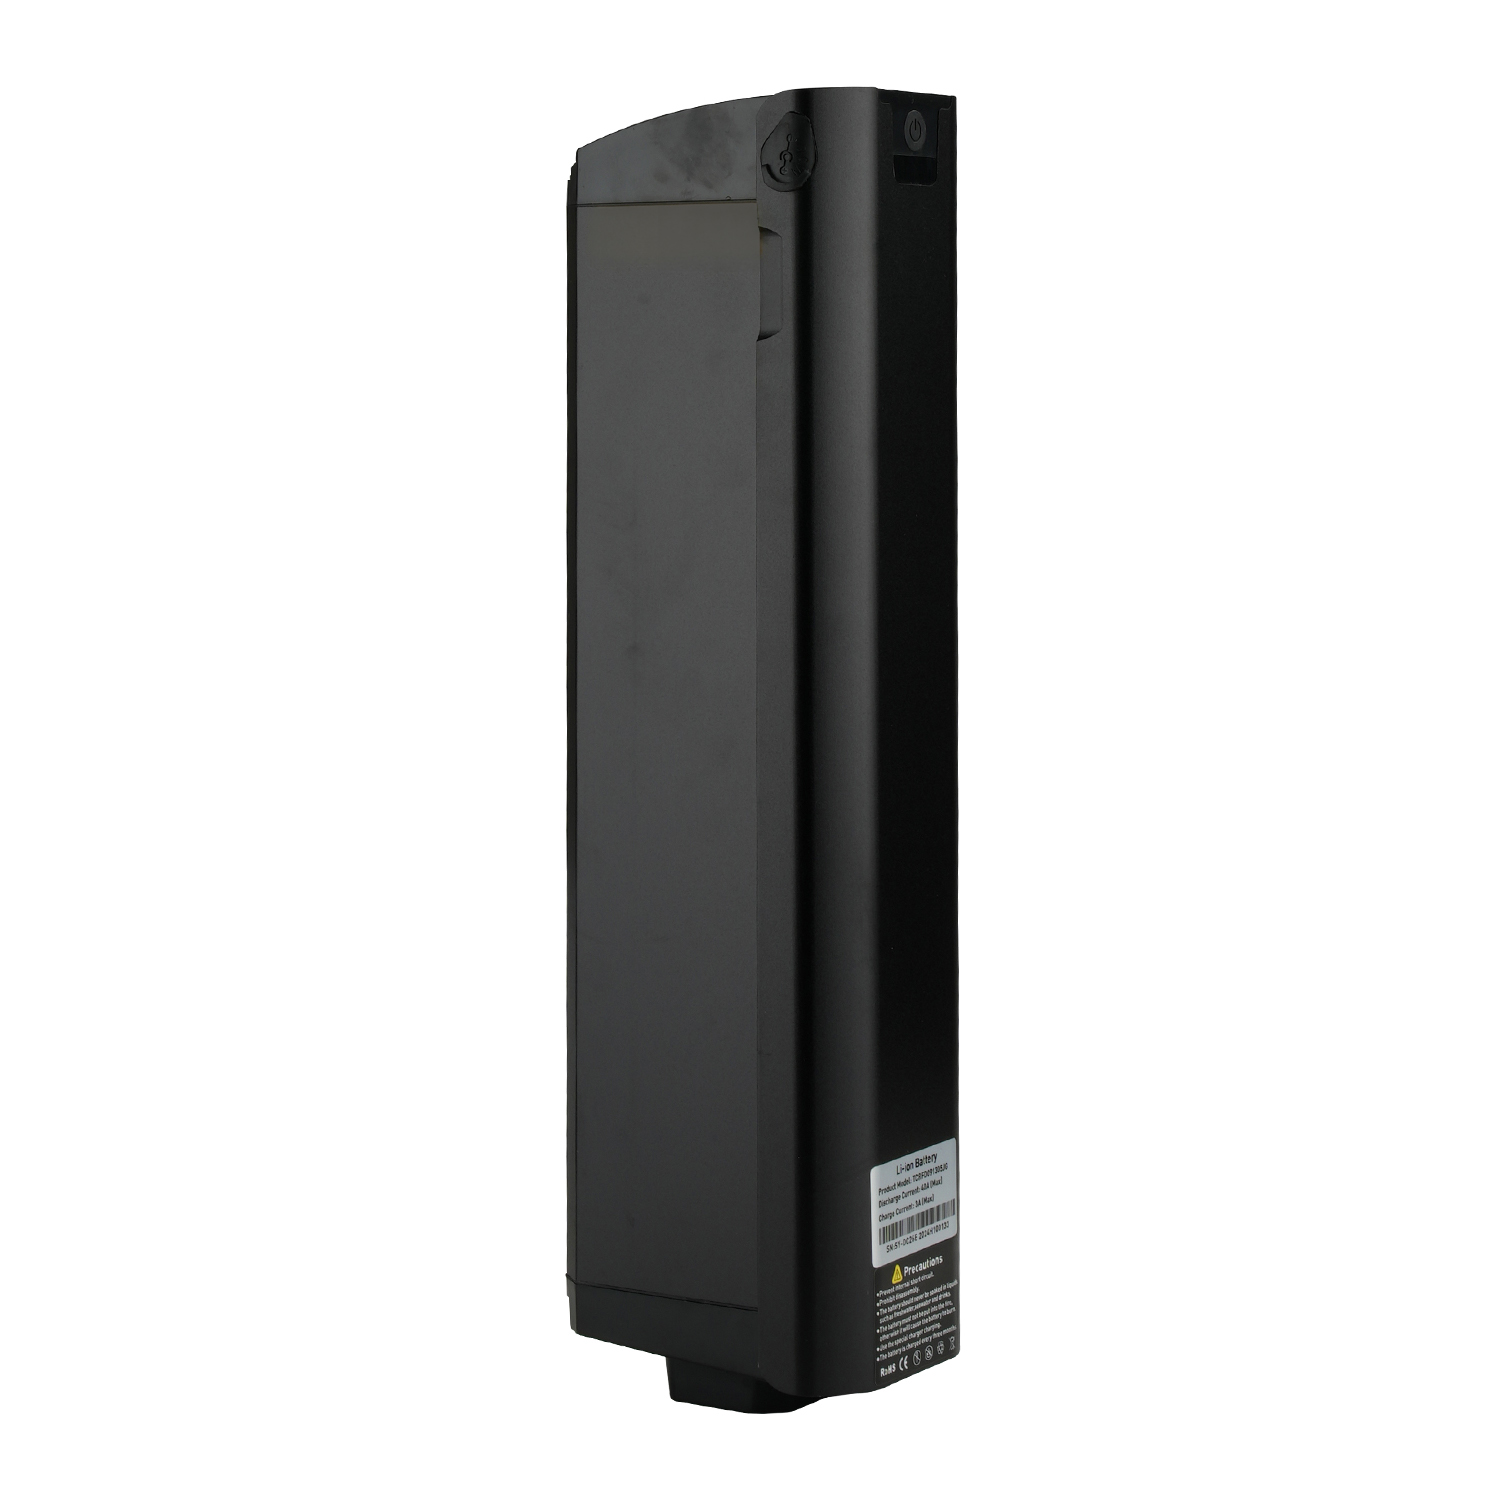
Hi, friends. Do you know that charging the battery of an electric bicycle is quite a sophisticated matter? If done properly, the battery will have a long service life and you can enjoy a worry-free ride. If not, it will cause a lot of trouble, not only affecting the endurance but also posing potential safety hazards. I myself have encountered many problems in this regard, and today I have also collected a great deal of experiences from netizens. Since I have some free time now, I’d like to chat with you about the correct way to charge the battery of an electric bicycle, so that our beloved bikes can always be “fully charged” and we can ride smoothly!

When it comes to charging the battery of an electric bicycle, I was really completely clueless at first. I only knew that it needed to be charged when it was out of power, but I had no idea how to do it correctly. It was like facing an extremely difficult math problem and having no clue about the solution. Once, I randomly plugged it into a socket to charge without considering anything else. Later, I found that the battery seemed to become less and less durable. I was really panicked and wondered if there was a problem with the charging method. Later, I started to think about it carefully and discovered that there were actually a lot of things to pay attention to.
Let’s first talk about the charging frequency. Some friends might think that it’s okay to just charge the battery when it’s out of power and don’t need to care too much about when to charge. But that’s not the case. My neighbor has an electric bicycle. He always waits until the battery power is extremely low to charge it, and sometimes he doesn’t ride it or charge it for several days. As a result, the battery’s endurance drops very quickly. I asked some experts and they said that the battery is like our body and needs to have regular “activities”. If it is always over-discharged or left unused and uncharged for a long time, the chemical reactions inside the battery will be affected. It’s just like when we always stay up late or don’t exercise for a long time, our physical functions will definitely deteriorate. So, even if you don’t ride it often, it’s better to charge the battery at regular intervals to keep it active.
I saw a netizen sharing his charging experience in an electric bicycle enthusiast group. He especially emphasized that the ambient temperature during charging is very important. He once charged his bike in a place directly exposed to the sun in the hot summer. Wow, the battery got so hot that it could almost fry an egg. He didn’t even dare to touch it. Later, he learned that charging in a high-temperature environment can cause great damage to the battery, just like a person will get exhausted when working in a high-temperature environment. Because high temperature will accelerate the chemical reactions inside the battery, leading to various problems such as water loss and plate aging. So now he has become smarter and always tries to find a cool and well-ventilated place to charge, such as a bike shed or a basement. He said that in this way, the battery can be charged “comfortably”, and he feels that the battery life has become longer than before.
Not only high temperature, but also low temperature has an impact on charging. I myself had an experience of charging my bike outdoors in winter. The temperature was extremely low at that time. I found that the charging speed was as slow as a snail, and the charged electricity didn’t seem to last long. Later, I learned that low temperature will increase the resistance of the battery, reduce the charging efficiency, and may even form crystals on the battery plates, which will damage the battery. So in the cold winter, if possible, it’s better to bring the battery to a warm indoor place to charge and then install it back on the bike after it’s fully charged. It’s the same as we put a hand warmer on our mobile phone when charging it in winter, all to make them “work” at a suitable temperature.
Another crucial point is that the charging time shouldn’t be too long. I have a friend who is a typical “careless guy”. He charged his bike at night and slept until dawn, often overcharging the battery. Once, his battery bulged directly. He was so scared that he quickly ran to replace it with a new one, which cost him a lot of money. It’s like when we eat too much, our stomach can’t take it. Generally speaking, when the battery is fully charged, the charger should be unplugged in time. Don’t let it be “overfed” all the time.
So how do we know if the battery is fully charged? Now many electric bicycle chargers have indicator lights. They will change color or turn off when fully charged. At this time, it can be unplugged. But some chargers may not have such obvious prompts. Then you have to pay attention to the charging time yourself. The charging time of different capacity and type of batteries is different. For example, for a general lead-acid battery, the charging time may be about 6 – 8 hours, while for a lithium battery, it may be shorter, about 3 – 6 hours. But this is just a rough time. It still depends on the actual situation of the battery. I have a little trick. That is, set an alarm clock when charging and go to check if it’s fully charged around the right time. In this way, overcharging can be avoided.
The choice of charger can’t be sloppy at all. I heard that a friend bought an unknown brand charger to charge his electric bicycle just to save a little money. As a result, the charging speed was extremely slow, and the battery always seemed not to be fully charged. Later, he learned that a poor-quality charger may not be able to provide a stable current and voltage. It’s just like using a low-quality charging head for a mobile phone. It not only charges slowly but may also damage the phone. So it is recommended that everyone use the original charger or a branded charger with reliable quality.
I myself have learned a lesson in this regard. My original charger was broken, so I randomly bought a cheap one from a roadside shop for emergency use. At the beginning, I thought it was okay. But after using it a few times, I found that the battery power was consumed very quickly, and sometimes the charging would be interrupted. I quickly threw away that poor-quality charger and replaced it with the original one. After that, the battery gradually returned to normal. This tells us that never try to save a little money at the cost of causing big trouble to the battery. A good charger is like a “personal nutritionist” for the battery, which can provide it with the right “nutrition” and keep it healthy.
In addition, the power level of the battery during use also affects the charging effect. I saw a netizen saying in a forum that if the battery is often used until it’s almost out of power before charging, it will cause great damage to the battery. Now he always tries to start charging when the battery power is about 20% – 30% left. It’s like we shouldn’t wait until we are extremely hungry to eat but should replenish energy in advance. He said that in this way, the battery’s endurance seems to last longer.
And it’s better to clean the battery surface before charging. Once I found that there was a lot of dust and dirt around the charging port of my battery. I wondered if it would affect the charging. Later, after checking the information, I learned that these dust and dirt may cause poor contact and affect the charging efficiency. So now I always use a clean cloth to wipe the battery surface before charging, especially near the charging port. In this way, the charging can be “unobstructed”. It’s the same as we clean the charging port of our mobile phone before charging.
I think that although charging the battery of an electric bicycle seems simple, there are actually many things to know. Only by mastering the correct charging method can our electric bicycles better accompany us. Imagine that every morning before you go out, you fully charge your electric bicycle and then ride it leisurely through the streets and alleys of the city. You don’t need to worry about the battery suddenly running out of power or being damaged due to improper charging. On weekends, you can also ride it to the suburbs for a ride, breathe fresh air and enjoy the beautiful natural scenery. But if the charging method is wrong, it may break down halfway, which would be really disappointing. So everyone must pay attention to this matter of charging and learn more about the little knowledge of charging to make our electric bicycle journey smoother!
Let’s talk about the choice of socket for charging. We can’t just use any socket randomly. We must choose a socket with good quality and reliable grounding. I have a friend. He charged his electric bicycle in an old house. The socket looked very old and worn. As a result, there were always sparks when charging. He was so scared that he quickly stopped charging. Later, it was found that it was the problem of the socket. Because the socket was aged and had poor contact, it led to unstable current. So when we charge, we should first check if the socket has any damage or looseness. If charging outdoors, it’s best to use a special outdoor waterproof socket. This can not only ensure charging safety but also prevent short circuits caused by rain and other reasons.
Also, don’t plug too many electrical appliances into the same socket when charging. I once saw at the entrance of a small shop that for convenience, they plugged the electric bicycle charger, an electric fan, a light and several other electrical appliances into one socket. It’s like a small table that can only bear a certain weight. If you pile a lot of things on it, it will definitely collapse. This will cause the socket to be overloaded and easily lead to safety accidents such as fire. So we should give the charger a “private space” so that it can charge the battery safely.
In addition, the storage of the battery also has a certain relationship with charging. If you don’t use the electric bicycle for a long time, such as going on a trip or a business trip for a while, what should we do with the battery? I learned that first, we should fully charge the battery and then conduct a supplementary charge every half a month or so. This can prevent the battery from self-discharging and causing power loss. And the place where the battery is stored should be dry and well-ventilated, and never be placed in a humid or high-temperature environment. I have a relative. He put the electric bicycle battery in a humid basement. After a while, the battery shell got rusty and the plates inside were corroded. The battery was basically scrapped. So we should find a “good place” for the battery so that it can be well taken care of when it’s resting.
During the charging process, if you find any abnormal situations of the battery, such as heating, smoking, emitting strange smells, etc., you must stop charging immediately and keep the battery away from flammable items. Then quickly contact professional maintenance personnel or the manufacturer’s customer service and let them check and handle it. Never blindly disassemble or repair the battery by yourself because there is high-voltage electricity inside the battery. It’s not a joke. It’s like when we are sick, if we are not doctors, we can’t take medicine randomly but should seek professional help.
In conclusion, charging the battery of an electric bicycle is something that we need to take seriously. From charging frequency, ambient temperature, charging time, charger choice, to power level, socket choice, battery storage and so on, every aspect is related to the battery life and our usage safety. Only by carefully understanding these knowledge and strictly following them in practical operation can we keep our electric bicycle batteries in good condition and provide reliable power support for our travel. Let’s become experts in charging electric bicycle batteries together, travel happily and ride without worry!
Leave a comment
Please note, comments need to be approved before they are published.
当前文章评论已关闭。
-
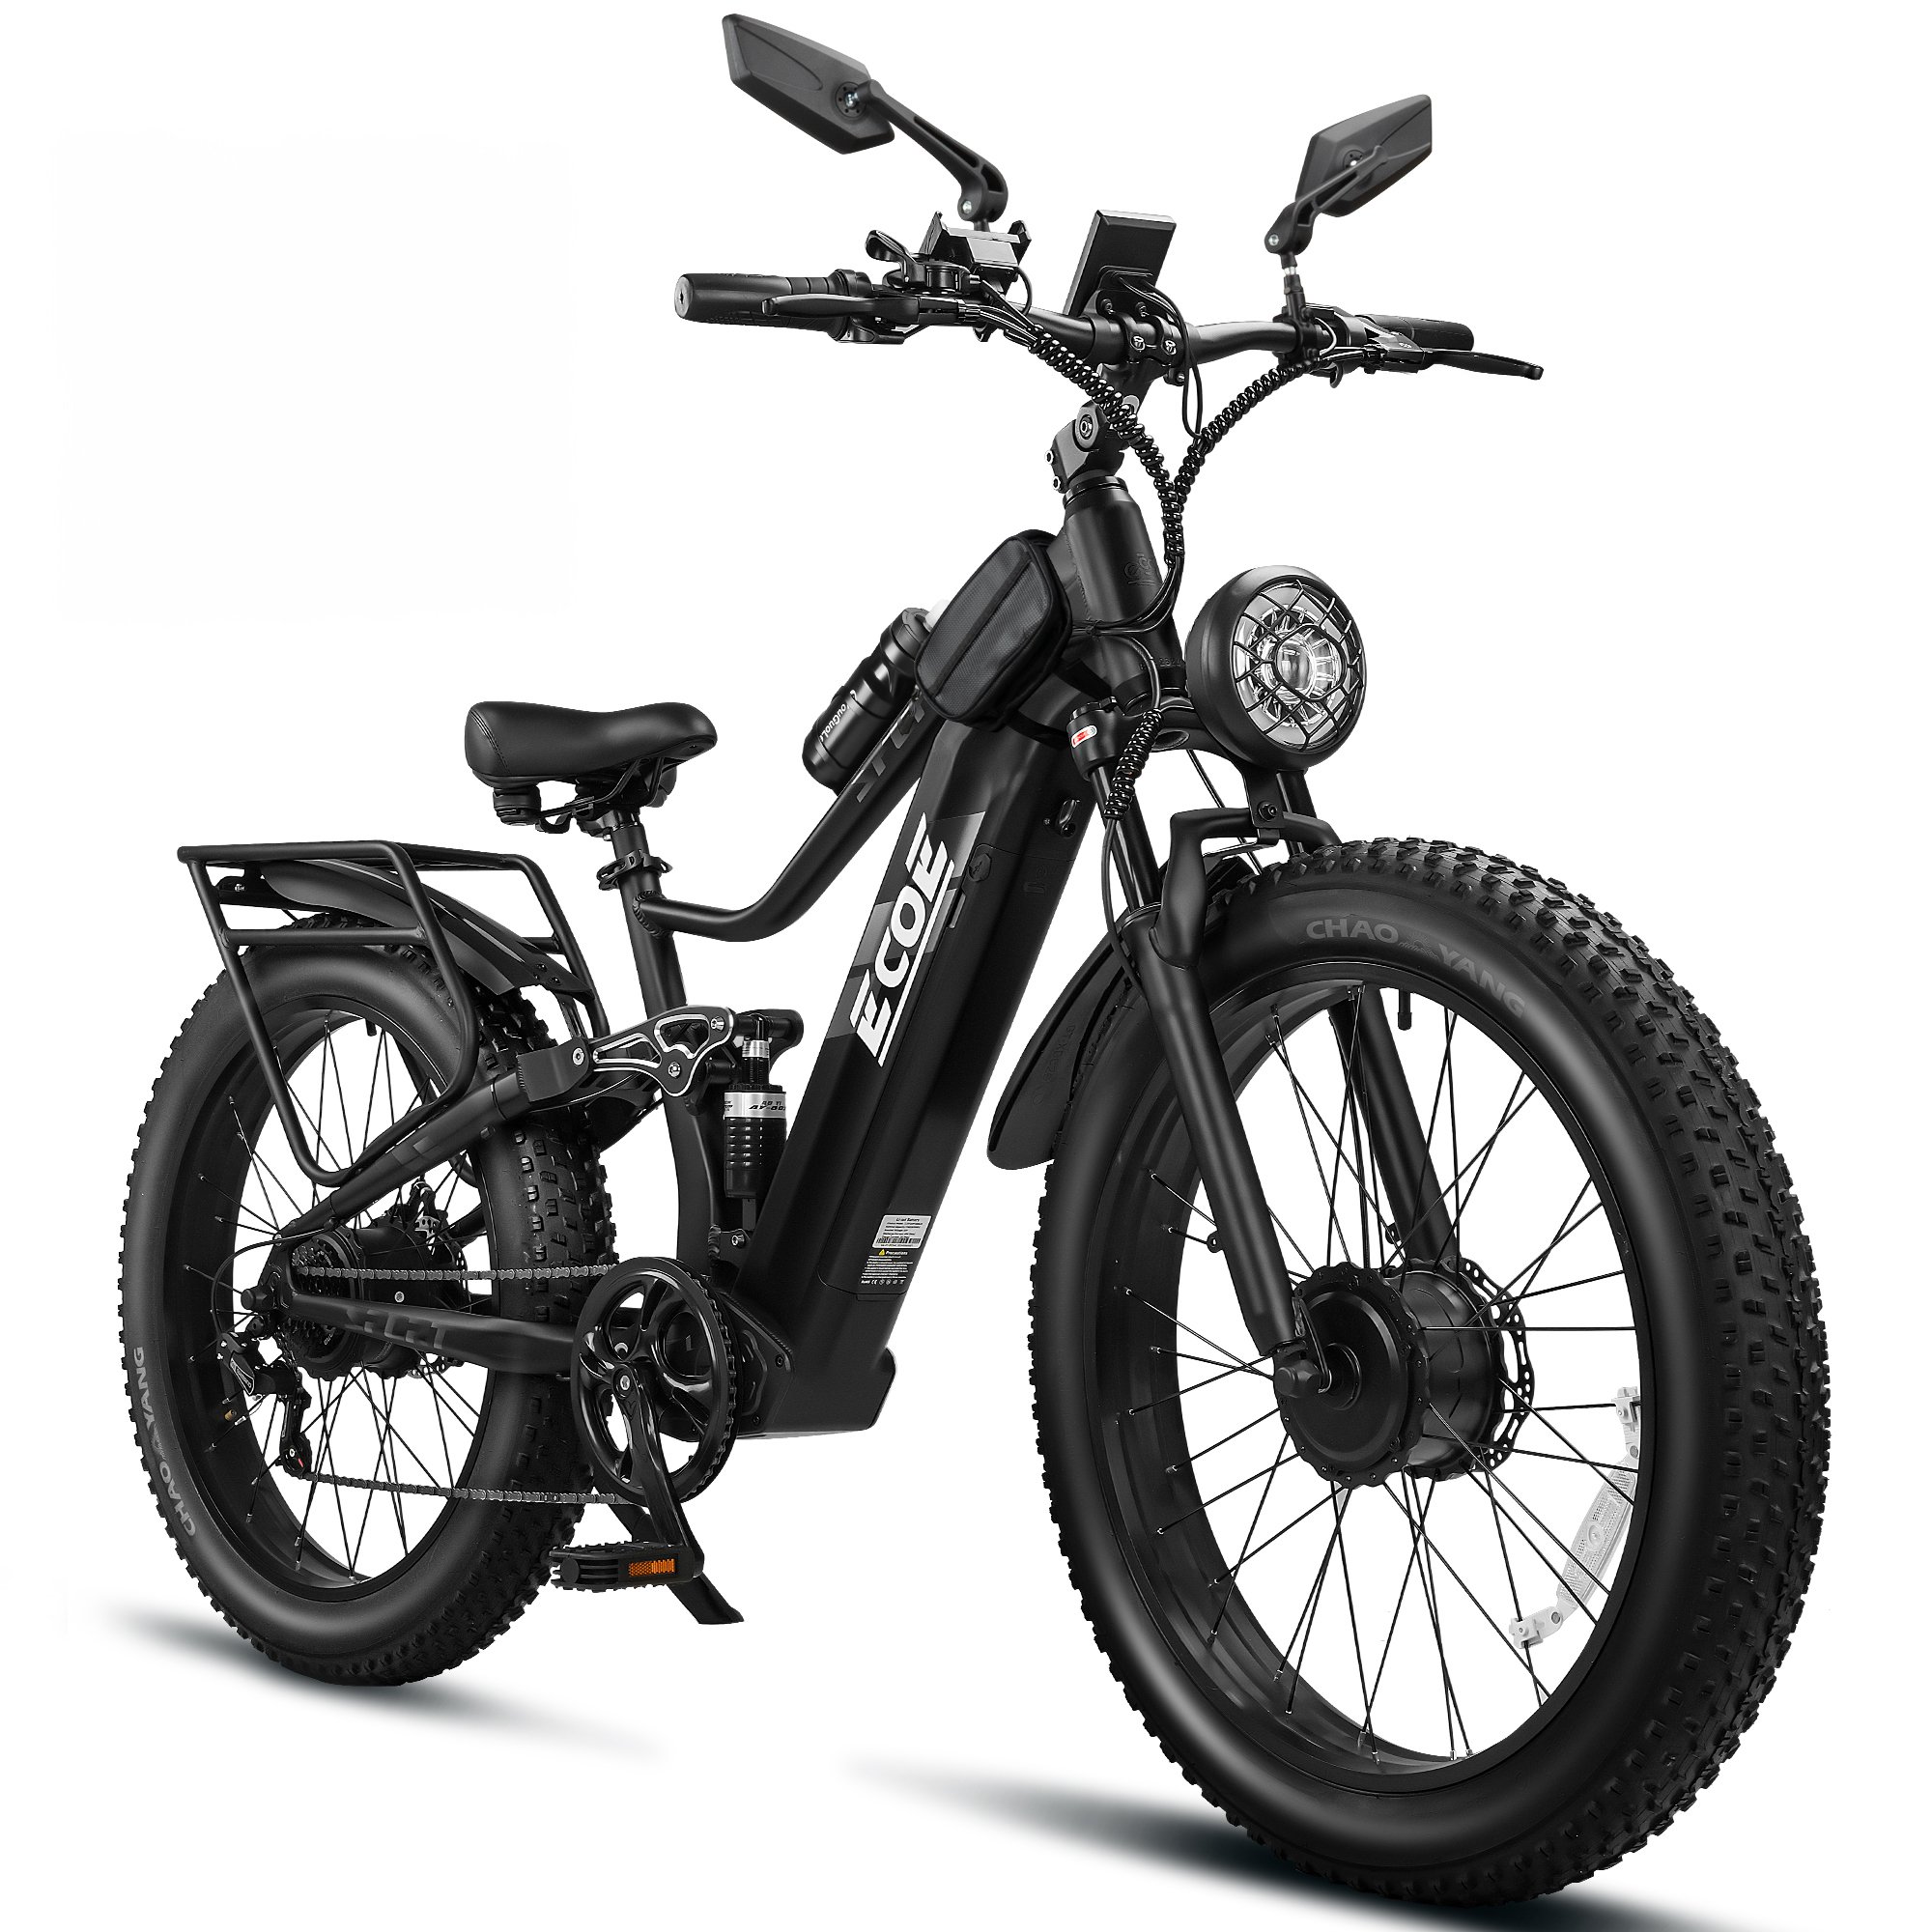
EcoE 9000W Dual Motor Electric Bike for Adults 52MPH 60V32A, 26×4 Fat Tire All Terrain Ebikes, Full Suspension E Bike, SHM 7-Speed Gear Electric Bicycle 9000W-60V
From$1,329.00 Add to cart-
10000W Dual Motor Electric Bike for Adults 52MPH with Charge Voltage 63v Battery, 26×4 Fat Tire All Terrain Ebikes, Full Suspension E Bike, SHM 7-Speed Gear Electric
From$1,699.00 Add to cart
EcoE Parking-Lot Reverse-Light Scan: Stay Out of a Backing Vehicle’s Path
Meta Description: Ride an EcoE electric bike more defensively in parking lots by reading reverse lights, wheel movement, driver visibility, and backing paths. Introduction Parking lots are areas where many different movements happen at the same time. Vehicles enter spaces, drivers search for parking, and pedestrians may appear from between cars. For an EcoE rider, a parked vehicle is not always stationary. A driver preparing to reverse may have limited visibility, especially when larger vehicles block the view. Treating every occupied parking space as a possible moving path helps you make safer decisions. The goal is not to predict every driver’s action. It is to create enough time and space to respond calmly. Quick Answer Ride through parking aisles at a pace that allows you to stop within the visible distance ahead. Look for signs such as reverse lights, brake lights, moving wheels, vehicle position changes, or a driver looking toward the direction of travel. If a vehicle’s intention is unclear, slow down, create space, and allow it to complete the maneuver before continuing. Read More Than Reverse Lights Reverse lights can provide an important clue, but they are only one part of the picture. A vehicle may begin moving before you fully recognize the signal, or another car may block your view of the lights. Pay attention to the entire vehicle: Small movements often appear before the vehicle fully enters the aisle. Early awareness gives you more options than reacting at the last moment. Avoid the Blind Area Behind Vehicles A narrow opening behind a reversing vehicle may look available, but it can quickly disappear. Avoid passing closely behind a vehicle that has started backing out. The driver may not see an EcoE rider in mirrors or cameras, even when you are nearby. Instead, choose a position where: A […]
Read more
EcoE Traffic Signal Detector Miss: What to Do When Red Will Not Change
Meta Description: Learn a patient, lawful EcoE electric bike routine when a traffic signal does not appear to detect your ride, from proper positioning to safe rerouting. Introduction Waiting at a traffic signal that does not seem to recognize an electric bike can be frustrating, especially when the road is quiet and the light appears to stay red longer than expected. Some intersections use pavement sensors, cameras, or other detection systems, and bicycles may not always trigger them in the same way as larger vehicles. For EcoE riders, the best response is not to force the situation. A calm and lawful approach keeps you visible, predictable, and safer around other traffic. Quick Answer Stop at the marked line in a legal and visible position and wait through a complete signal cycle. Do not move into the intersection or cross against the signal in an attempt to trigger a change. If the signal still does not respond, follow local rules and choose an approved option, such as waiting, using an alternate route, or walking the bike to a permitted crossing area. Choose a Visible Position Where you stop can affect how well you are seen by traffic systems and other road users. Use normal bicycle positioning and avoid moving unpredictably across lanes. If an intersection has bicycle detection markings or a designated waiting area, position yourself there when it is legal and safe. Keep in mind that a camera or sensor may not recognize every rider. Visibility helps, but it does not guarantee detection. Avoid Creating a New Hazard While Waiting A long wait can become uncomfortable, but the solution is not to move into unsafe areas. Avoid stopping in crosswalks, blocking turning paths, or placing yourself where drivers may not expect a bicycle. Stay aware of vehicles approaching from behind, […]
Read more
EcoE Drain Grate and Road Seam Guide: Keep Fat Tires on a Clean Line
Meta Description: Handle drain grates and road seams on an EcoE electric bike by spotting hazards early, choosing a clean line, and using smooth, controlled steering. Introduction Drain grates, utility covers, and pavement seams may seem like small details on the road, but they can quickly affect how an electric bike feels beneath you. Metal surfaces, gaps, raised edges, and uneven pavement can all change traction or redirect a wheel if approached carelessly. EcoE fat tires provide a broad contact area for everyday riding, but tire size does not eliminate the need for good road awareness. The safest approach is to recognize these features early, choose your line before reaching them, and keep your steering and braking smooth. Quick Answer Scan the road ahead, identify grates and pavement seams early, and choose a clean path whenever conditions allow. Slow down before reaching the obstacle, keep the electric bike stable while crossing, and avoid sudden steering, braking, or acceleration on slick or uneven surfaces. Identify the Hazard Early Not every road feature requires the same response. A drain grate may have openings that create a problem for a wheel, while a raised utility cover can affect balance differently. A long pavement seam may also become uncomfortable if you ride directly along its edge. Before reaching the feature, take a moment to understand what is ahead. Look for: Poor lighting and wet conditions can make these hazards harder to recognize. When you cannot clearly read the surface ahead, reducing your pace gives you more time to make a decision. Choose Your Line Before the Obstacle One of the biggest mistakes is waiting until the last moment to decide where to ride. Check the road around you early. If you need to move away from a grate or seam, look behind you first […]
Read more
EcoE Parked-Car Door Zone Guide: Build a Visible Escape Buffer
Meta Description: Ride an EcoE past parked cars with greater awareness by spotting door clues, preserving a safe buffer, controlling your pace, and planning an escape line. Introduction A row of parked cars is never completely predictable. A door can open, a passenger can step out, or a driver can suddenly pull into traffic. For EcoE riders, treating parked vehicles as an active roadside zone makes it easier to anticipate these situations. Instead of focusing only on the space directly ahead, look for clues around each vehicle and maintain enough room to respond calmly. Quick Answer Where local rules and traffic conditions allow, avoid riding too close to parked cars. Watch windows, mirrors, lights, and wheel position for potential clues. Maintain a controlled pace, preserve a visible buffer, and keep an escape option available. Never assume a closed car door will stay closed. Read Clues Before the Door Small details can provide useful warning signs. Look for occupied seats, brake lights, interior lights, moving silhouettes, visible exhaust, or a front wheel angled toward the traffic lane. None of these signs guarantees what a driver or passenger will do, but they can tell you when extra caution is appropriate. If a vehicle appears occupied or something looks unusual, reduce your pace and give yourself more time to react. Preserve Space Without Swerving Choose your riding line early rather than constantly weaving around parked vehicles. If you need to move farther away from the parked-car row, check behind you first and make your movement predictable. The EcoE rearview mirror can help you monitor surrounding traffic, but it should complement—not replace—your direct awareness of nearby vehicles. If there is not enough safe space to continue, slowing down or waiting can be better than squeezing through a narrow gap. Plan the Escape Before the […]
Read more
Bringing a Cold EcoE Battery Indoors: A Condensation-Aware Routine
Meta Description: Move a cold EcoE battery indoors with a patient, dry transition routine before inspection or charging, following official instructions. Introduction A removable EcoE battery may experience a quick temperature change when moved from a cold garage, storage area, or winter ride into a warmer indoor environment. When cold surfaces meet warm air, moisture may form. Taking a little extra time during this transition helps riders check conditions before connecting the charger. A careful routine protects both the battery and the charging process. Quick Answer Turn off the EcoE and remove the battery only according to the provided instructions. Place it in a dry, stable indoor location away from direct heat sources. Allow the battery to adjust naturally, check for visible moisture or unusual conditions, and only charge when the battery and charging environment are suitable according to official EcoE guidance. Avoid Forced Heating A cold battery should not be warmed quickly with external heat. Avoid placing it directly beside heaters, heat lamps, or other hot surfaces. Rapid temperature changes can create unnecessary stress and may interfere with proper handling. Instead, choose a clean indoor area with stable room conditions and enough space around the battery for a gradual transition. Inspect Before Charging Before connecting the charger, take a moment to check the outside of the battery and the connection area. Do not open, modify, or attempt to repair the battery yourself. If you notice visible moisture, physical damage, unusual swelling, strange odor, or another abnormal condition, avoid connecting the charger and follow appropriate support guidance. A simple inspection can help identify concerns before charging begins. Separate Battery Transition From Charging Bringing the battery indoors and charging it should be treated as two separate steps. First, make sure the battery has moved into a suitable dry environment. Then begin […]
Read more
EcoE Clothing Check: Keep Laces, Cuffs, and Straps Clear
Meta Description: Use a quick EcoE clothing check to secure shoelaces, trouser cuffs, bag straps, and loose layers before the wheels begin moving. Introduction Loose clothing can become an unexpected distraction when riding a powerful electric bike. A hanging shoelace, loose cuff, jacket cord, or bag strap may move toward pedals, wheels, or other moving parts. The easiest way to prevent these problems is to check before starting your EcoE ride. A short clothing and gear inspection helps keep your attention where it belongs: enjoying the ride. Quick Answer Before riding, secure shoelaces, manage loose trouser cuffs, close or tighten jacket cords, and tuck away any hanging straps. Take a quick walk around the EcoE to look for anything loose. With the bike powered off and stable, you can also carefully check that clothing or accessories are clear of moving areas. Start With Your Shoes Shoelaces deserve attention before every ride. Even if they were tied earlier, walking around can loosen knots or create longer loops. Secure your laces so they stay in place and avoid leaving extra material near the pedals. Choose riding footwear that fits securely and allows your feet to sit naturally on the pedals. Stable footing helps create smoother starts and stops. Manage Cuffs and Outer Layers Wide pant legs and loose jackets can move unexpectedly while riding. Secure clothing that hangs near the pedals or wheels. In cooler weather, choose layers that provide warmth without creating long loose sections of fabric. Before starting, zip pockets, manage drawstrings, and make sure outer layers stay controlled even when moving through wind. Check Bags and Accessories Clothing is not the only thing that can become loose. Backpack straps, helmet straps, cargo straps, and accessory cords should also be secured before riding. A strap that appears harmless while standing […]
Read more
EcoE Kickstand Check: Park a Heavy E-Bike Without a Slow Tip-Over
Meta Description: Park an EcoE electric bike more securely by checking ground firmness, lean direction, cargo balance, handlebar position, and kickstand contact. Introduction A parked electric bike can appear stable while still slowly shifting on soft ground, uneven pavement, or a sloped surface. With an EcoE carrying a removable battery, rack accessories, or additional gear, a quick stability check before walking away can help prevent unexpected tip-overs. Good parking habits take only a few seconds but can protect the bike, accessories, and surrounding space. Quick Answer Choose firm and level ground whenever possible. Make sure the kickstand is fully deployed and resting on a stable surface, not loose dirt, leaves, soft edges, or uneven pavement. Before leaving the bike, check the cargo balance, position the handlebar appropriately, and give the bike a gentle stability check to confirm it will stay in place. Read the Ground Under the Kickstand The most important area is the small contact point beneath the kickstand. A parking spot may look flat overall, but a small crack, loose surface, or soft patch can allow the kickstand to sink or slide. Avoid placing the stand directly on unstable edges or surfaces that may shift. If the ground does not feel reliable, move the entire bike to a better location instead of trying to adjust the stand on a questionable spot. Keep Cargo Balanced Before Parking Extra gear can change how an electric bike settles when parked. A loose bag, uneven rack load, or shifting cargo may affect the bike’s balance after you step away. Before opening storage bags or rearranging equipment, make sure the bike is already stable. Avoid allowing passengers or others to lean heavily on the bike while it is parked. A stable-looking bike can still move when additional weight is added. Check the Lean […]
Read more
Crossing Railroad Tracks on an EcoE: Angle, Speed, and Space
Meta Description: Approach railroad tracks on an EcoE electric bike with a controlled angle, steady speed, clear space, and smooth handling across rail surfaces. Introduction Railroad crossings create a unique riding challenge. Unlike normal pavement, tracks combine smooth steel surfaces, narrow grooves, uneven edges, and changing road conditions. EcoE’s fat tires provide a stable riding platform, but they cannot completely eliminate the possibility of a wheel being affected by a rail groove or uneven crossing surface. A safe rail crossing is less about power and more about preparation, positioning, and smooth control. Quick Answer Slow down before reaching the tracks, check your surroundings, and choose the safest crossing line early. Approach the rails as close to a straight angle as conditions allow, keep the bike upright, and maintain a calm, steady pace. Avoid sudden braking, hard acceleration, or sharp steering movements while crossing the steel surface. Set Your Line Before the Rails The best time to decide your path is before you reach the crossing. Check for traffic, signals, road conditions, and available space. Position the EcoE so the wheels can meet the rails with a cleaner angle instead of approaching from the side. Avoid making last-second corrections directly on the tracks. If the crossing area is damaged, blocked, or does not allow enough space for a controlled approach, it is better to wait and choose a safer moment. A few extra seconds of preparation can make the crossing smoother and more predictable. Keep Inputs Smooth Across Steel Rail surfaces require calm movements. Keep your grip relaxed, maintain a steady handlebar position, and allow the tires to move across the crossing without sudden changes. Wet rails, painted markings, loose gravel, or debris can reduce available traction. Smooth control is more important than speed. The goal is not to rush over […]
Read more
EcoE Low-Speed U-Turn Practice: Build Control Before You Need It
Meta Description: Practice controlled EcoE U-turns in a legal open area using a wide setup, relaxed steering, gentle power, and progressive drills. Introduction An electric bike can feel most impressive when it has plenty of power, but confident riding often comes down to what happens at very low speed. A smooth U-turn can be useful in parking areas, quiet access roads, trail staging areas, and other places where space is limited. At these speeds, balance, steering control, and awareness matter more than acceleration. Practicing low-speed turns in a controlled environment can help EcoE riders develop better handling habits before they need them during everyday rides. Quick Answer Choose a flat, legal, traffic-free area for practice. Start with a large circle, look toward your intended exit, keep your hands relaxed, and use gentle, steady input. Once wide turns feel comfortable, gradually make the turning area smaller. If your balance, visibility, or control starts to feel uncertain, widen the turn or stop the practice. Start Wide and Read the Space Begin with plenty of room. Painted parking lines or other harmless visual markers can help you create a simple practice area. Ride one wide circle in each direction before attempting a tighter U-turn. This first step lets you learn how the electric bike responds at low speed while showing you whether turning in one direction feels more natural than the other. There is no need to rush. The goal is to make each turn smooth and repeatable. Guide the Bike With Your Eyes Where you look can influence how naturally the bike follows the turn. Instead of staring at the front tire, curb, or ground immediately in front of you, turn your head toward the area where you want the bike to finish. Keep your gaze level and allow your upper body […]
Read more
EcoE Heat Check Routine: Battery, Rider Energy, and Road Surface
Meta Description: Prepare your EcoE electric bike for hot-weather rides by managing battery storage, rider hydration, road conditions, shade, speed, and return timing. Introduction Summer riding brings a different kind of challenge. Bright sunlight, hot pavement, busy roads, and rising temperatures can make a familiar route feel much harder than expected. For EcoE riders, preparing for hot weather means thinking about more than just the bike. Your battery, your energy, and the conditions around you all play a role in making a summer ride comfortable and controlled. A little preparation before heading out can make it easier to enjoy the ride without letting heat become an unnecessary problem. Quick Answer Before riding in hot weather, avoid leaving the battery in extreme heat, carry enough water, start earlier when possible, choose routes with shade, adjust your speed when pavement is especially hot, and plan your return before fatigue becomes a problem. The goal is simple: protect the bike, manage your energy, and let the weather influence how you ride. Battery and Heat Heat can affect where and how you store your electric bike battery. When possible, keep the battery in a temperature-stable environment and avoid leaving it exposed to direct sunlight for long periods. If your EcoE is parked outdoors during a hot day, look for a shaded location whenever practical. Avoid treating a hot battery like it is ready to be charged immediately after sitting in intense heat. Give the battery and charging area appropriate attention before beginning your charging routine. Keeping the battery away from unnecessary heat is a simple habit that can become part of your regular summer routine. Rider Energy Electric assist can make riding feel easier, but it does not eliminate the effects of hot weather on your body. Heat can increase fatigue during a ride, […]
Read more0
-