May 13, 2026
How To Test An EBike Controller At Home

Electric bikes have surged in popularity because they make commuting easier, recreational rides more enjoyable, and long journeys less tiring. Unlike traditional bicycles, e-bikes rely on a combination of battery, motor, controller, display, and sensors to provide pedal assist or throttle-powered riding. Among these components, the e-bike controller is one of the most critical. It acts as the brain of the bike, managing communication between the battery, motor, throttle, brake cutoffs, and display.
When a controller malfunctions, your bike might refuse to start, lose motor assistance mid-ride, or cut power unexpectedly. However, not every issue is caused by the controller itself. Loose connectors, brake cutoffs, low battery voltage, communication faults, or display errors can mimic controller failure. That’s why testing your controller correctly is key before deciding to replace it.
What Is an E-Bike Controller?
The e-bike controller is the electronic hub that regulates power flow from the battery to the motor. Think of it as the central command center of your e-bike. It receives input from your throttle, pedal assist sensor, brake levers, speed sensors, and display, then determines how much power the motor needs.
Inside the controller are microchips, capacitors, resistors, MOSFETs, and other signal-processing circuits. These components help start the motor smoothly, control speed, monitor safety, and respond to your riding input in real-time.
Main Functions of an E-Bike Controller
A controller has several critical roles in your e-bike’s operation:
- Power Delivery and Motor Control:
It calculates how much power the motor should receive based on throttle input or pedal assist level, helping your ride feel smooth and responsive. - Battery and Voltage Management:
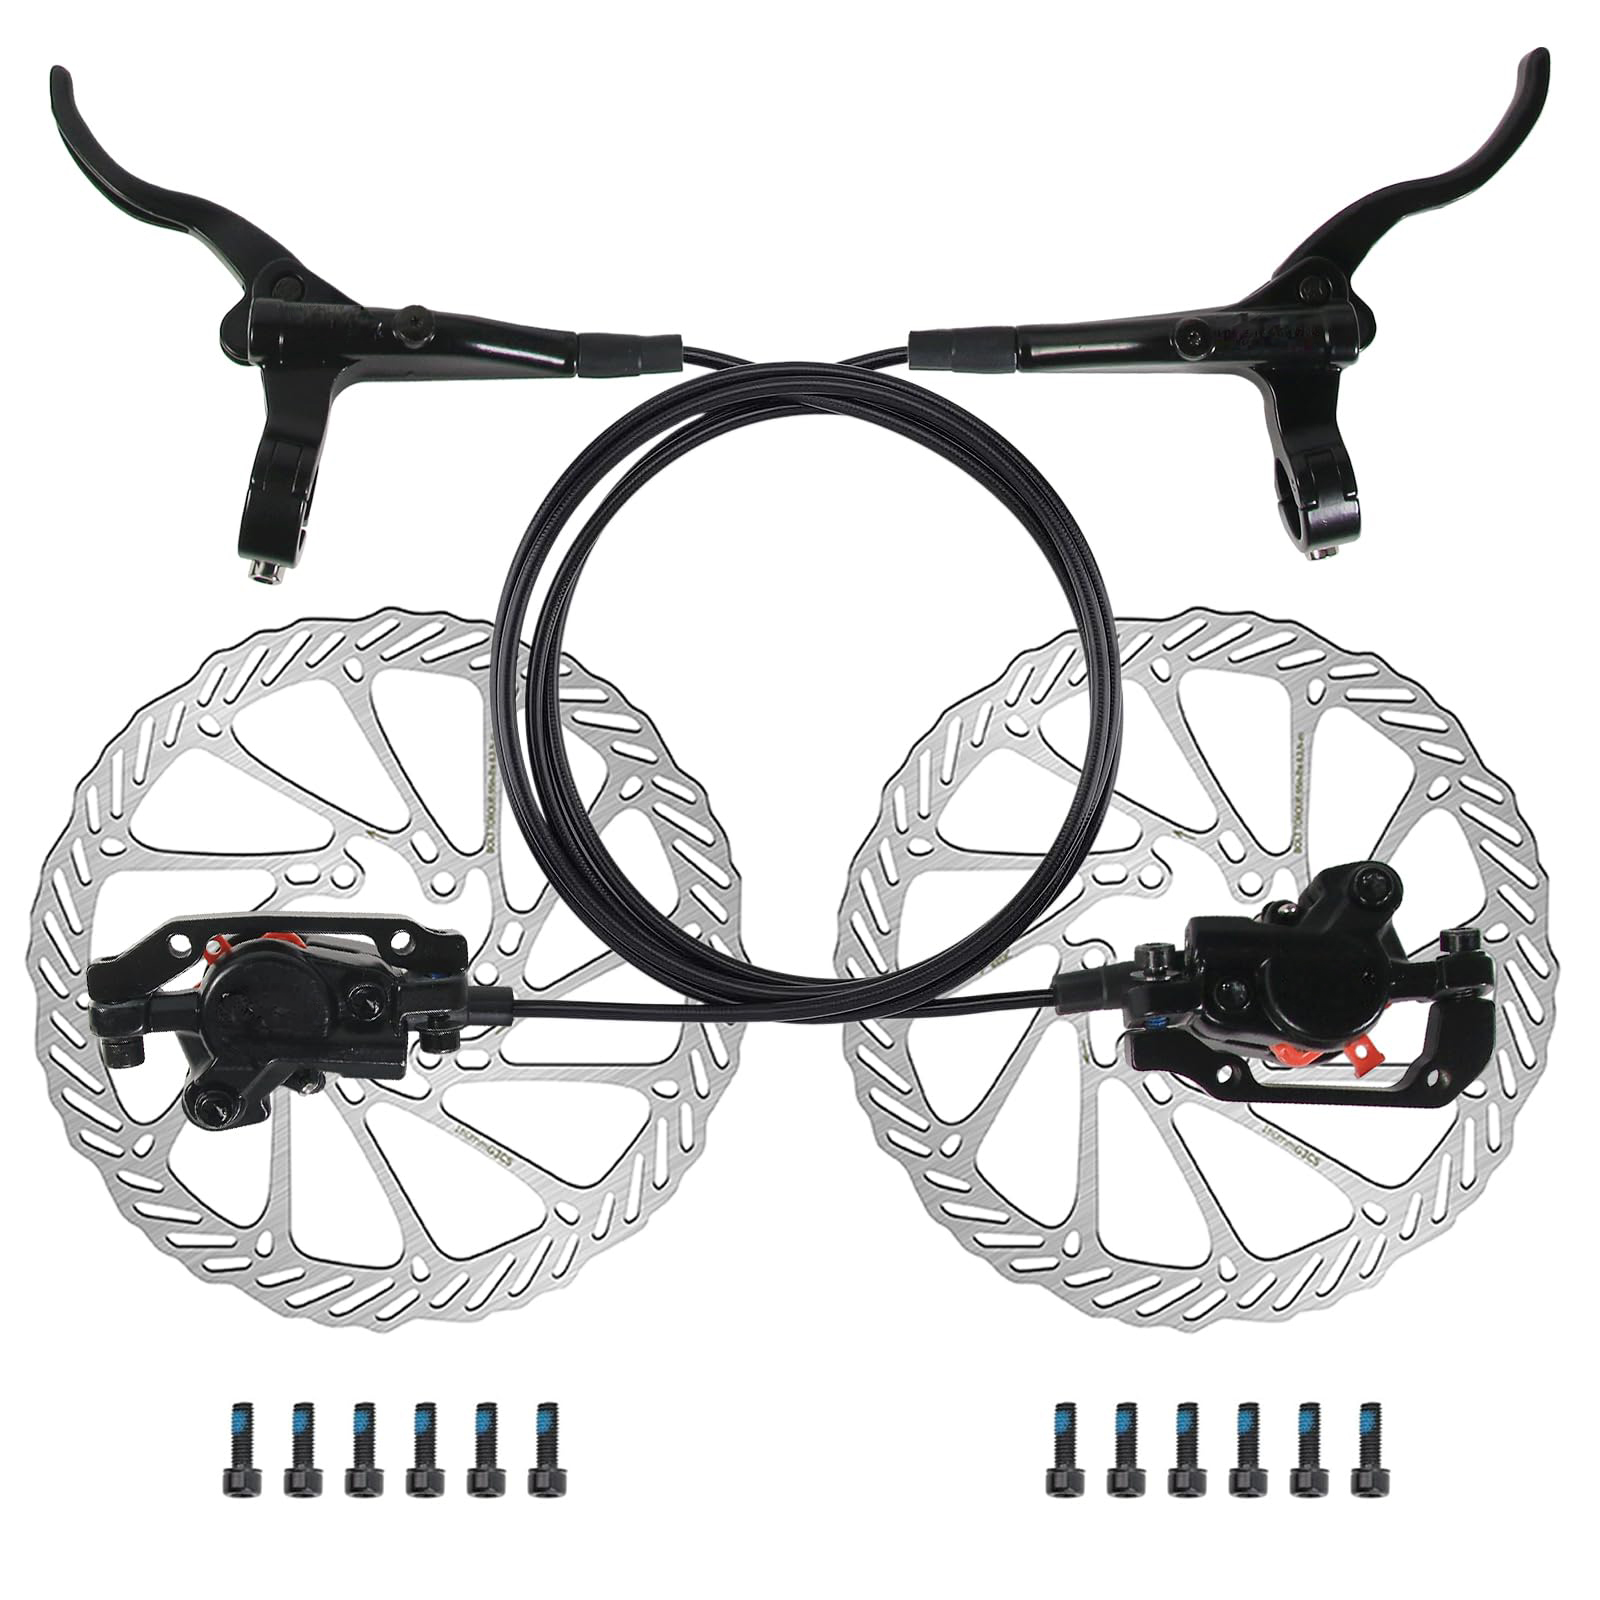
The controller monitors voltage and current, protecting the battery and motor from over- or under-voltage situations. - Brake Cutoff Protection:
When you pull a brake lever, the controller can immediately stop motor output, ensuring your bike stops safely. - Current and Heat Protection:
If current draw or internal temperature gets too high, the controller reduces or cuts motor output to prevent damage.
Common Signs of Controller Problems
Controllers don’t fail often, but when they do, you may notice:
- The bike powers on, but the motor does not run.
- The motor cuts out during acceleration or under load.
- Throttle or pedal assist stops responding.
- Display shows communication, motor, throttle, or brake error codes.
- Controller becomes unusually hot.
- Bike shuts off intermittently on rough roads.
Keep in mind that these symptoms may also stem from a weak battery, loose motor cable, water intrusion, damaged wiring, or an engaged brake cutoff switch.
Quick Checks Before Testing
Before using a multimeter, inspect your e-bike to rule out simple causes:
- Ensure the battery is fully charged, seated properly, and locked in place.
- Check the display for error codes.
- Inspect visible cables and connectors for looseness, bent pins, corrosion, or water damage.
- Confirm brake levers are not stuck in a motor cutoff position.
- Reconnect the battery and restart the bike to see if it resolves the issue.
Often, reconnecting a loose cable or resetting the system solves the problem without needing to test the controller.
How to Test an E-Bike Controller at Home
If quick checks don’t solve the problem, you can proceed with proper testing, typically using a multimeter:
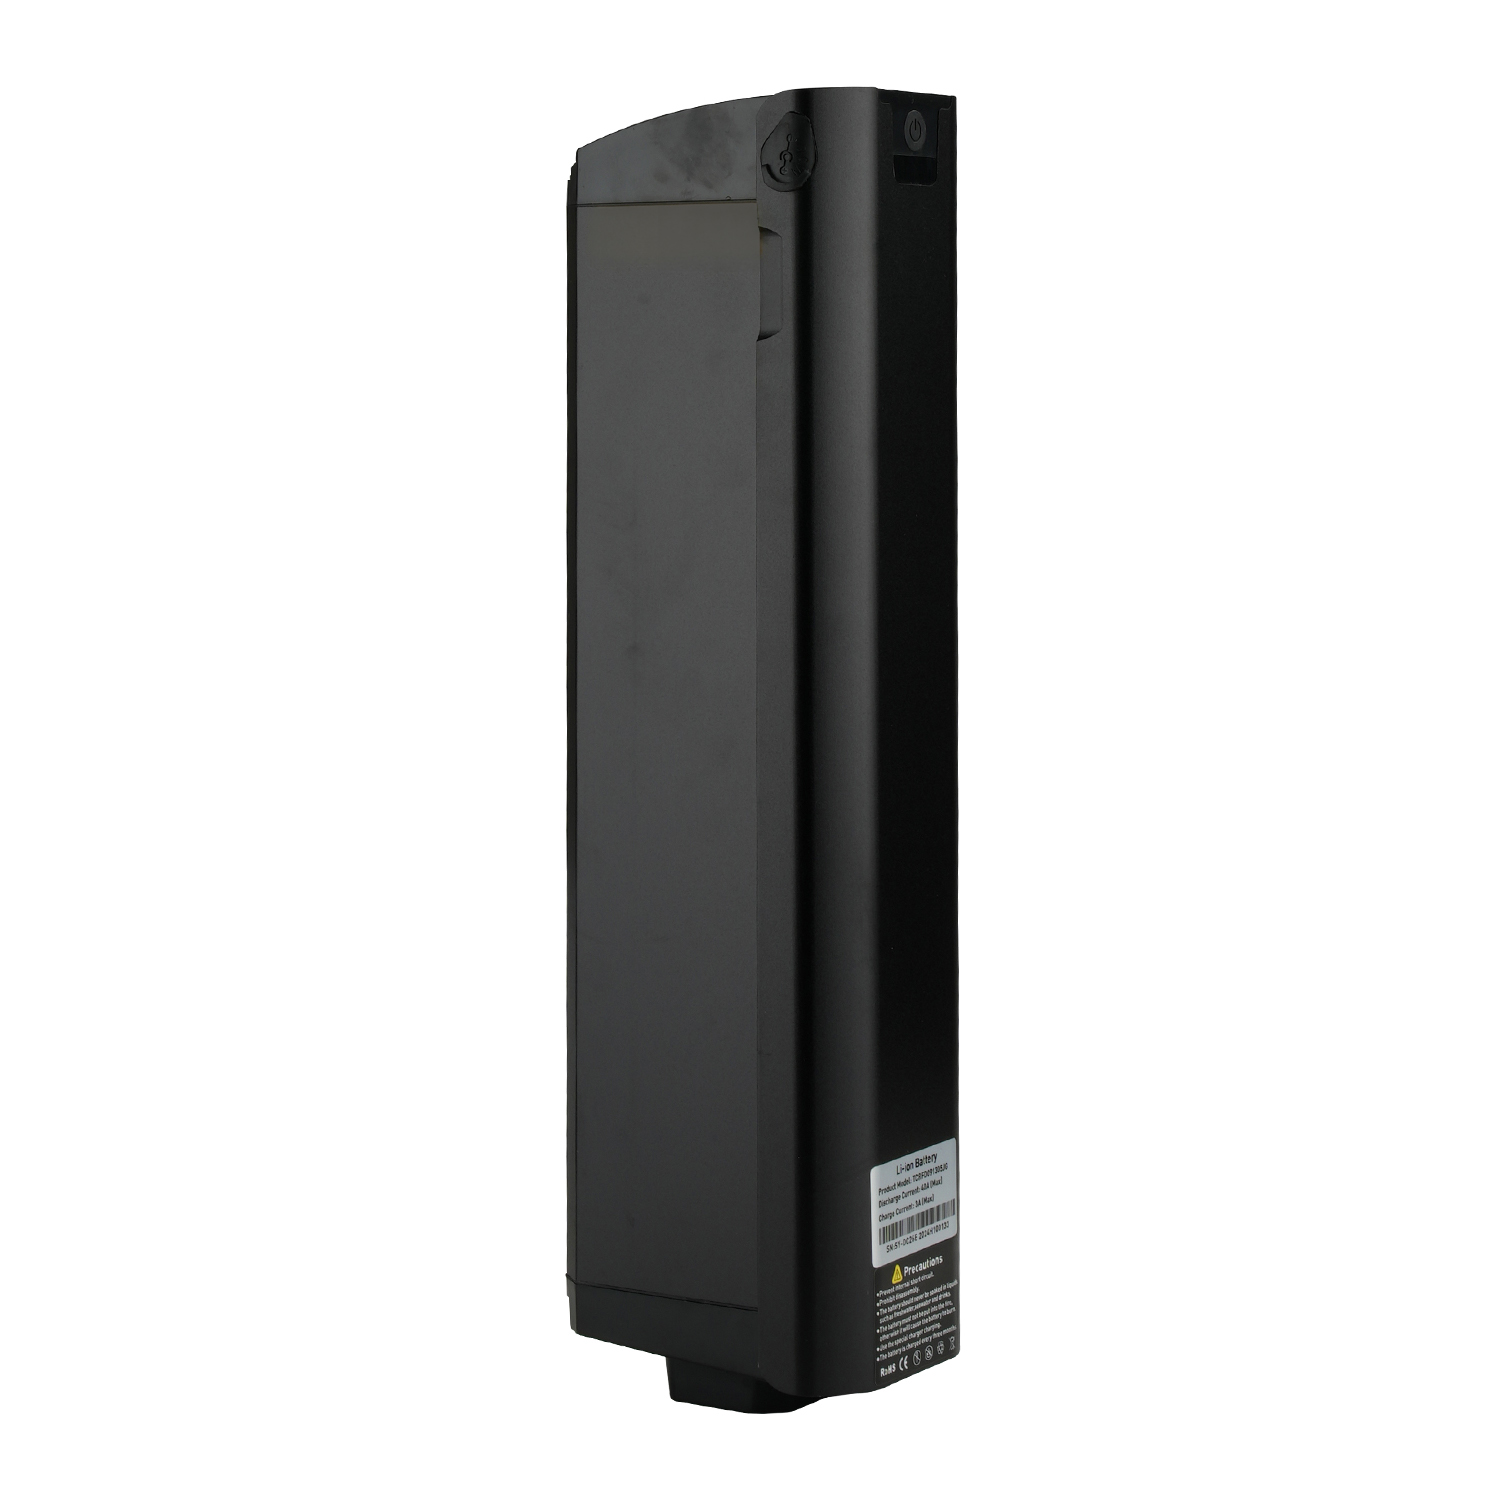
1. Check Battery Voltage
Start with the battery:
- Turn off the bike.
- Set your multimeter to DC voltage mode.
- Measure voltage at the battery terminals.
- Compare with the battery’s rated voltage.
If the voltage is too low, the issue may be with the battery, BMS, charger, or connections, not the controller.
2. Check Controller Input Power
Ensure the controller is receiving power from the battery:
- Reconnect the battery.
- Locate the controller input leads.
- Measure voltage at the controller input.
If the battery shows normal voltage but the controller does not receive it, check for blown fuses, loose connectors, or damaged wires.
3. Test 5V Reference Output
Many throttles and Hall-effect sensors rely on a 5V reference from the controller:
- Turn on the system.
- Carefully back-probe the throttle or sensor connector.
- Measure voltage between the 5V wire and ground (typically 4–5V).
Missing or unstable voltage can indicate controller or wiring faults.
4. Check Throttle or Hall Signal Response
- Measure voltage between signal and ground on the throttle connector.
- Slowly twist the throttle while observing the multimeter.
- Look for smooth signal changes; erratic or no change suggests a faulty throttle, sensor, or controller input stage.
5. Inspect for Physical Damage
Even if wiring tests fine, look for internal signs of damage:
- Burnt smells or melted insulation
- Water intrusion or corrosion
- Discolored connectors
- Repeated overheating
Such issues increase the likelihood that the controller itself is defective.
Using an E-Bike Tester
An e-bike tester can simplify diagnosis, checking the controller, throttle, brake cutoffs, sensors, and motor wiring quickly. However, be aware that light patterns vary between testers, so always follow the tester’s manual rather than assuming a pattern has a universal meaning.
When to Replace the Controller
Consider replacing the controller if:
- Battery voltage is normal, but the motor doesn’t respond.
- 5V reference for throttle or sensors is unstable or absent.
- Controller repeatedly overheats or cuts out.
- There’s visible burn damage, corrosion, or water intrusion.
- Other components (battery, throttle, motor, brake cutoffs, display) have been ruled out.
Some e-bike systems require brand-specific controllers with software pairing, making replacement more complex.
FAQs About E-Bike Controllers
Q: Why does my e-bike turn on, but the motor doesn’t run?
A: Loose cables, engaged brake cutoffs, low battery voltage, faulty throttle or sensors, or a failing controller can all cause this. Check display error codes, connectors, and battery first.
Q: How do I know if the controller or battery is the problem?
A: Measure battery voltage under load. If voltage is fine, but motor output or 5V reference is unstable, the controller is likely the issue.
Q: Can a brake cutoff switch mimic a controller fault?
A: Yes, a stuck switch can prevent motor power even when the bike appears on.
Q: Can I test the controller without removing it?
A: Often, yes. You can check input voltage, 5V reference, and throttle response with the controller installed.
Q: Should I repair or replace a damaged controller?
A: For most riders, replacement is safer and more practical. Repairs require electronics expertise and correct parts.
Conclusion
Testing an e-bike controller at home is possible with careful troubleshooting. Start with simple checks like battery charge, error codes, cable connections, and brake levers. Use a multimeter to confirm voltage and sensor signals. If all external factors are fine but issues persist—such as no motor output, unstable sensor voltage, or overheating—the controller may need replacement.
Following this step-by-step approach prevents unnecessary part replacements and ensures your e-bike stays on the road longer, keeping your rides smooth, safe, and enjoyable.
Leave a comment
Please note, comments need to be approved before they are published.
当前文章评论已关闭。
-
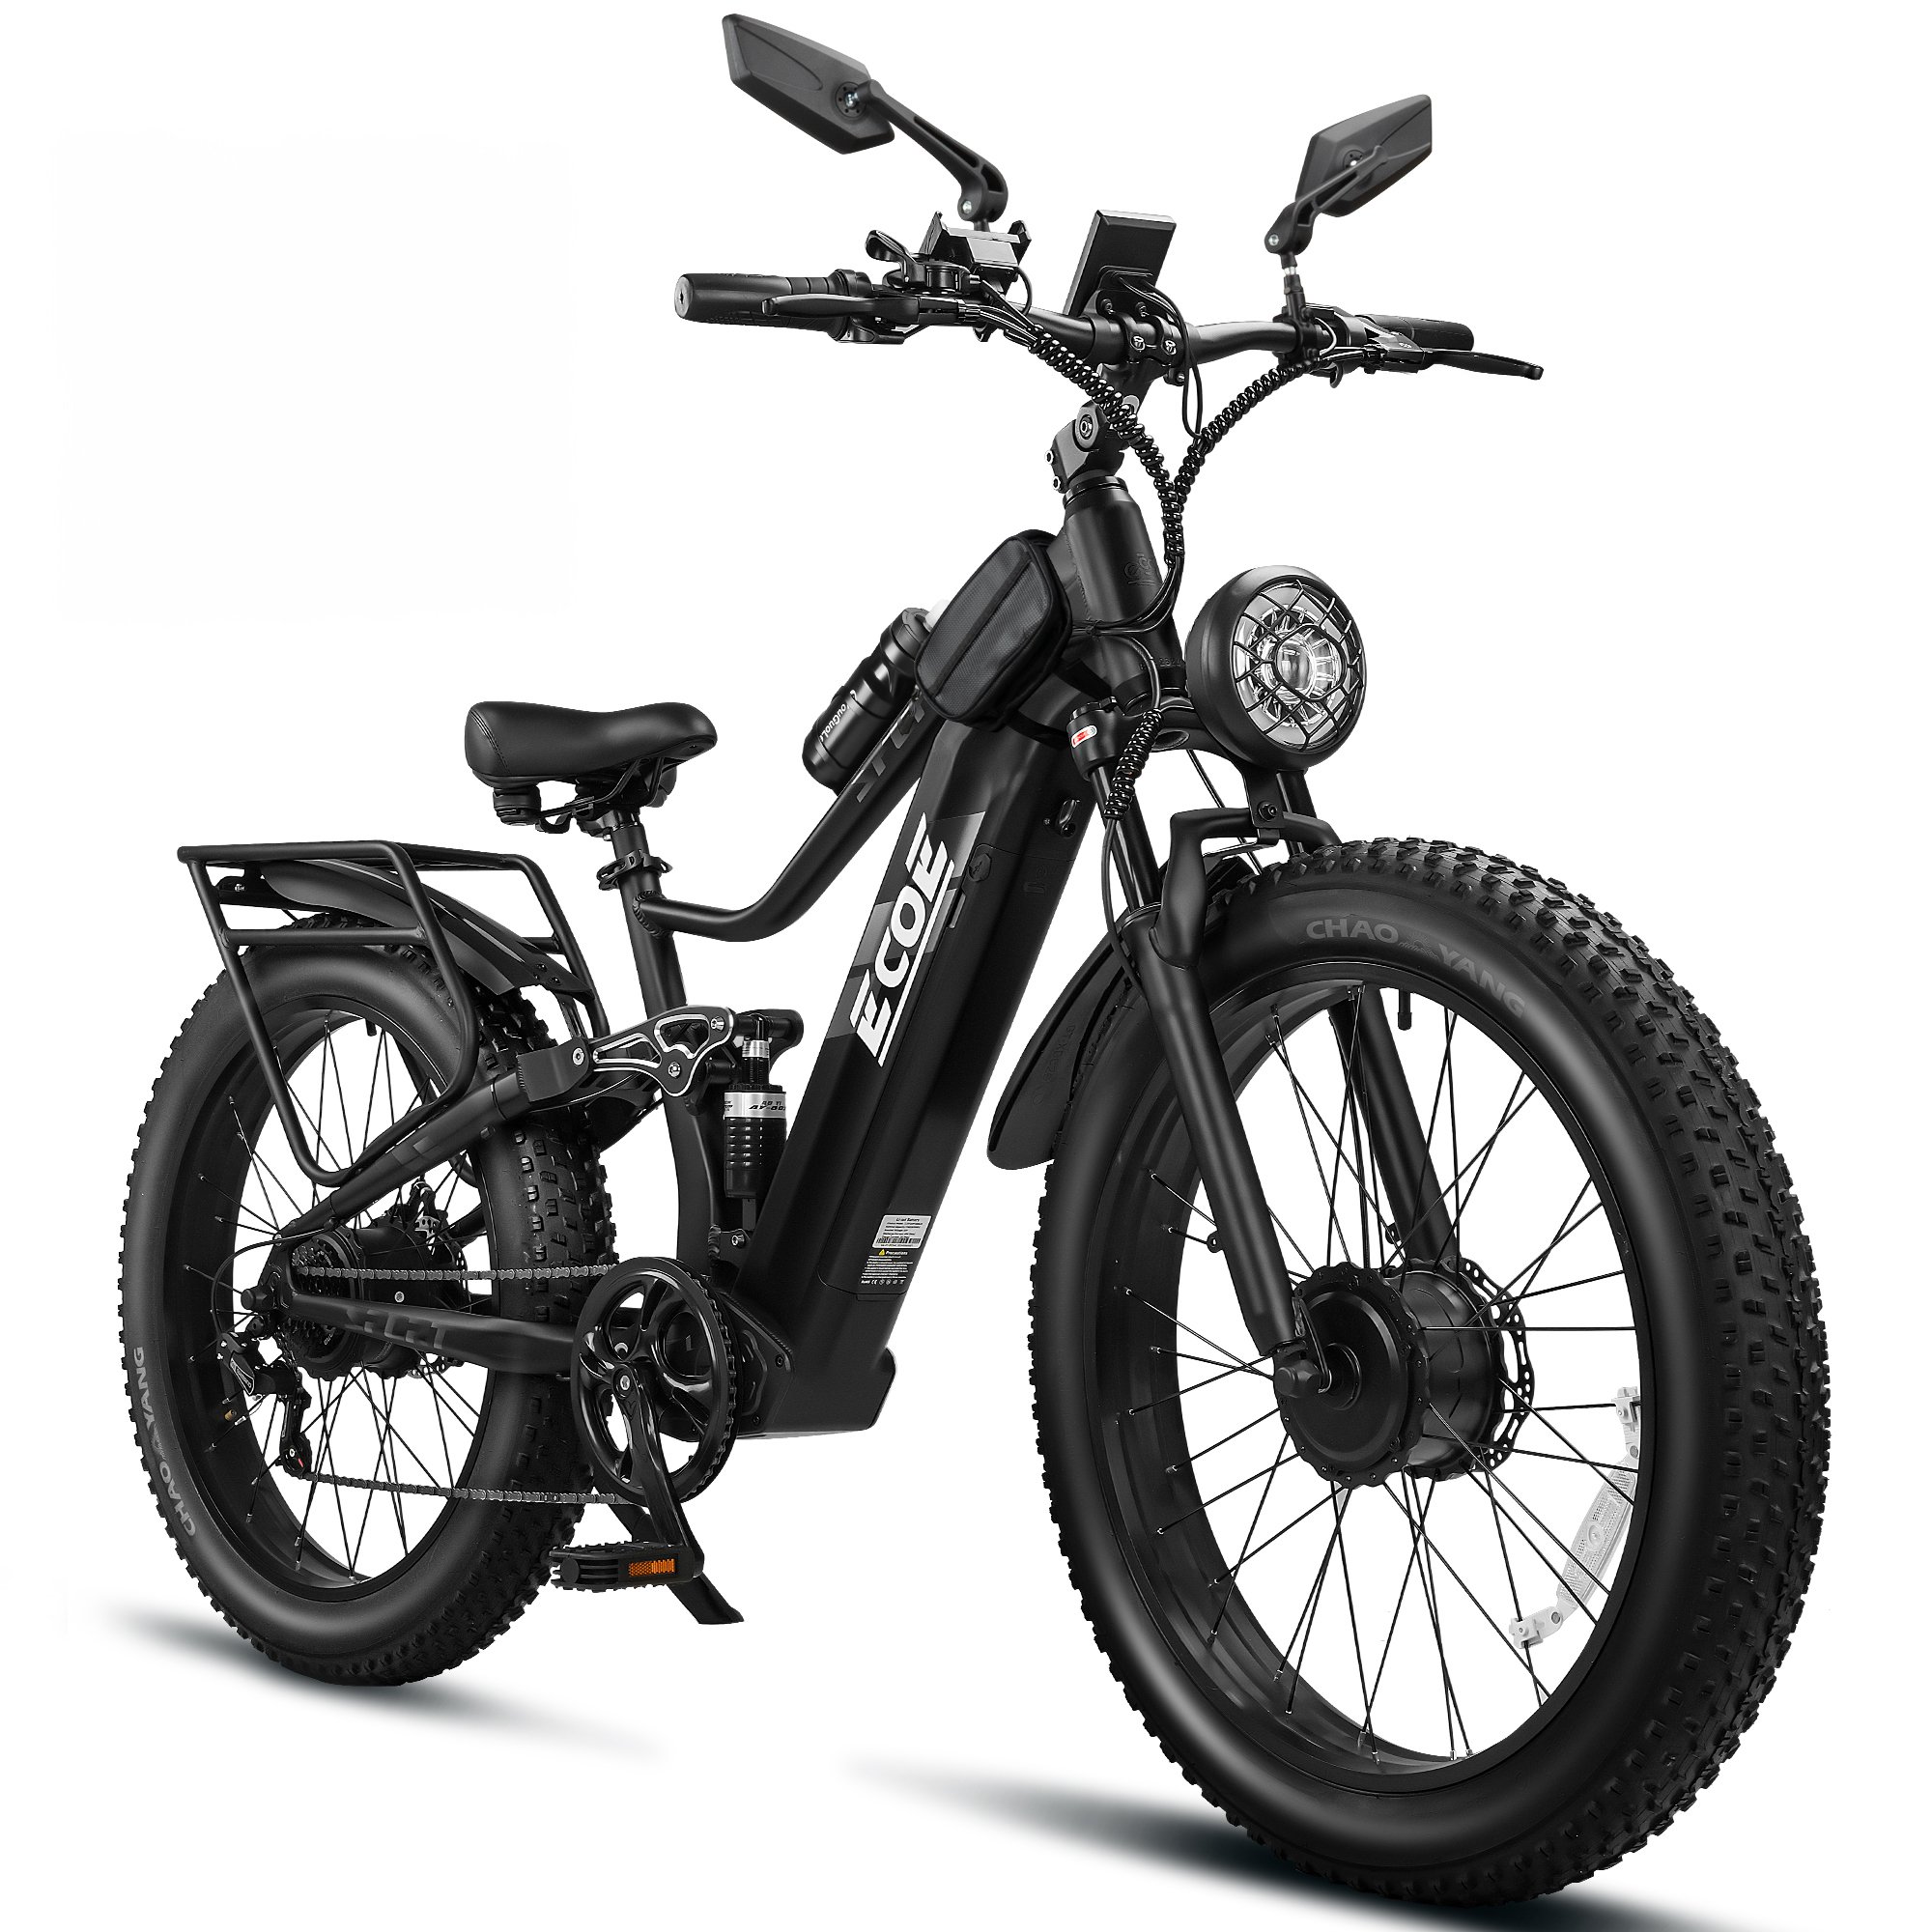
EcoE 7000W Dual Motor Electric Bike for Adults 52MPH Charge Voltage 63 V32A, 26×4 Fat Tire All Terrain Ebikes, Full Suspension E Bike, SHM 7-Speed Gear Electric Bicycle
From$1,599.00 Add to cart-

5000W Dual Motor Electric Bike for Adults 52MPH with 60V32A, 26×4 Fat Tire All Terrain Ebikes, Full Suspension E Bike, SHM 7-Speed Gear Electric Bicycle
From$1,449.00 Add to cart
How To Test An EBike Controller At Home
Electric bikes have surged in popularity because they make commuting easier, recreational rides more enjoyable, and long journeys less tiring. Unlike traditional bicycles, e-bikes rely on a combination of battery, motor, controller, display, and sensors to provide pedal assist or throttle-powered riding. Among these components, the e-bike controller is one of the most critical. It acts as the brain of the bike, managing communication between the battery, motor, throttle, brake cutoffs, and display. When a controller malfunctions, your bike might refuse to start, lose motor assistance mid-ride, or cut power unexpectedly. However, not every issue is caused by the controller itself. Loose connectors, brake cutoffs, low battery voltage, communication faults, or display errors can mimic controller failure. That’s why testing your controller correctly is key before deciding to replace it. What Is an E-Bike Controller? The e-bike controller is the electronic hub that regulates power flow from the battery to the motor. Think of it as the central command center of your e-bike. It receives input from your throttle, pedal assist sensor, brake levers, speed sensors, and display, then determines how much power the motor needs. Inside the controller are microchips, capacitors, resistors, MOSFETs, and other signal-processing circuits. These components help start the motor smoothly, control speed, monitor safety, and respond to your riding input in real-time. Main Functions of an E-Bike Controller A controller has several critical roles in your e-bike’s operation: Common Signs of Controller Problems Controllers don’t fail often, but when they do, you may notice: Keep in mind that these symptoms may also stem from a weak battery, loose motor cable, water intrusion, damaged wiring, or an engaged brake cutoff switch. Quick Checks Before Testing Before using a multimeter, inspect your e-bike to rule out simple causes: Often, reconnecting a loose cable or resetting the system […]
Read more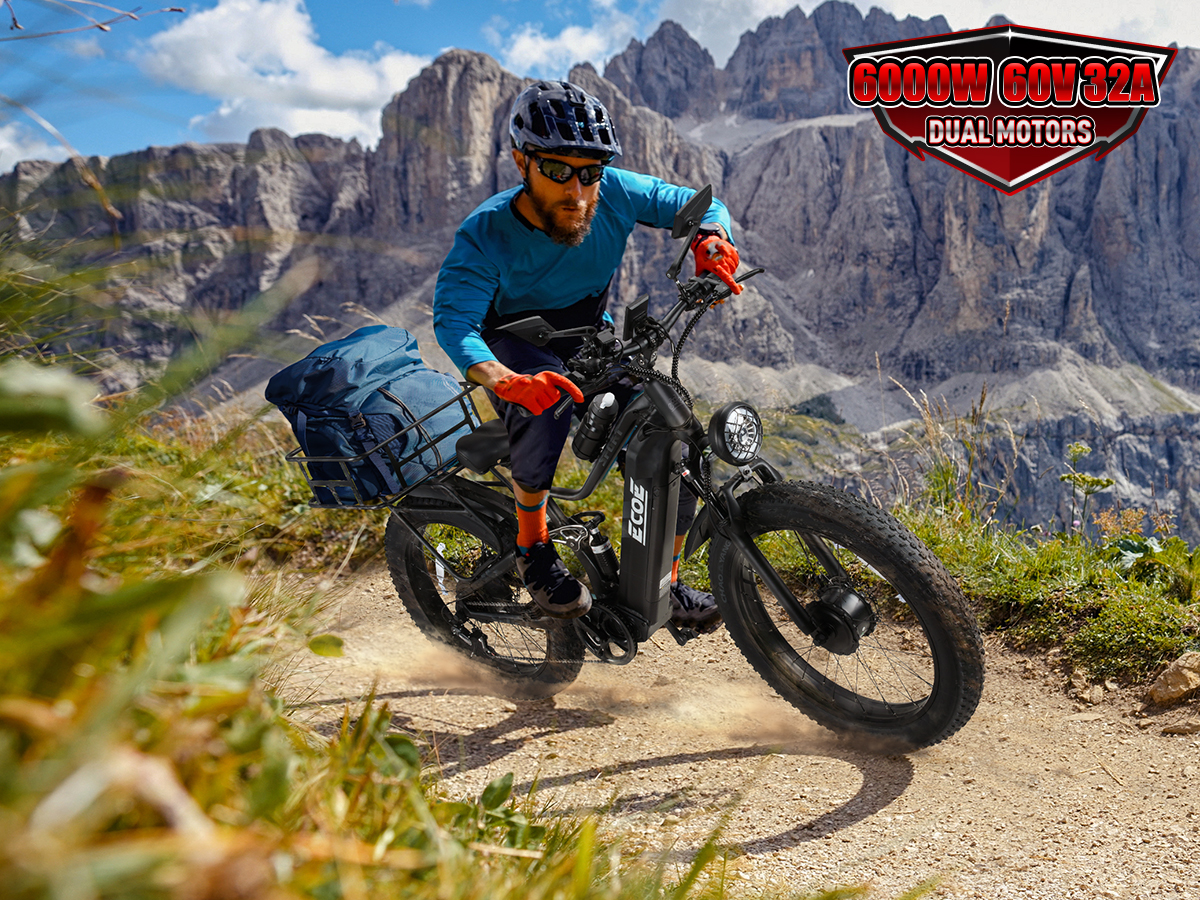
The Basics About Electric Bike Motors
Electric bikes are becoming increasingly popular as a convenient, eco-friendly way to commute, explore, or simply enjoy a ride. Whether you’re riding for fun, fitness, or transportation, the motor inside your e-bike plays a crucial role in how smooth, powerful, and efficient your ride will be. Most e-bikes today use either hub motors or mid-drive motors, each with its own advantages. Understanding how these motors work will help you make an informed choice for your riding needs. How an E-Bike Motor Works At its core, an electric motor converts electrical energy into mechanical motion, allowing your e-bike to move with less effort. When you pedal or activate the throttle, the motor generates torque, which spins the bike’s chainring and propels the wheels forward. A key part of this system is the controller, which regulates the amount of power sent from your battery to the motor. This ensures the motor doesn’t spin too fast or draw too much energy, keeping your ride safe and efficient. Some e-bikes include speed limiters to optimize battery life, while others have electronic braking systems that stop the motor when you pull the brakes. Most modern e-bikes offer different riding modes: By combining your own effort with the motor’s assistance, e-bikes make riding more enjoyable and less strenuous. Types of E-Bike Motors The two most common motor types are hub motors and mid-drive motors. Each type interacts with your bike differently and is suited for different riding styles. Hub Motors Hub motors are built into either the front or rear wheel hub. These motors operate independently of your bike’s gears, meaning they provide direct power to the wheel. Hub motors are simpler, lighter, and often more affordable. They are popular among commuters and casual riders because they’re easy to install, maintain, and repair. Pros of Hub […]
Read more
Benefits of Men Riding E-Bikes
As kids, many of us rode bikes without realizing just how much they can benefit our bodies and minds. Cycling is not just a fun activity—it’s an excellent way to boost physical health, improve mental well-being, and bring more joy into everyday life. While both men and women enjoy the perks of cycling, today we’ll focus on the unique benefits of men riding e-bikes and what makes a bike suitable for different riders. Mental and Emotional Benefits Boosts Mental Well-BeingRiding an e-bike can instantly lift your mood. The motion, fresh air, and exercise stimulate the release of natural mood-boosting hormones, making you feel more focused, motivated, and energized. Whether you ride alone or with friends, exploring new trails or city streets can inspire creativity, expand your social circles, and provide a sense of freedom. Cycling is a proven way to reduce stress and combat the low moods that often hold us back. Encourages Adventure and DiscoveryEvery ride is an opportunity to discover new places, enjoy nature, and experience life from a different perspective. With an e-bike, even longer rides feel effortless, allowing men to explore without worrying about exhaustion or timing. It’s a simple way to make daily life more exciting and fulfilling. Physical Health Benefits Strengthens the Immune SystemRegular e-bike rides support your body’s natural defenses, keeping you healthier and more resilient to illness. Spending time outdoors while engaging in light-to-moderate exercise improves overall immunity, reduces the risk of catching germs in crowded spaces, and keeps your body active and strong. Weight Management and Muscle BuildingE-bikes aren’t just for fun—they’re also effective fitness tools. Riding engages major muscle groups, including your glutes, thighs, calves, and core. Over time, regular cycling helps with weight management, tones muscles, and enhances endurance without putting too much strain on joints. Supports Heart and […]
Read more
How to Wash Your Bike After a Ride
Riding an electric bike is one of the most enjoyable ways to get around, explore trails, or commute to work. But just like any valuable tool, your e-bike needs proper care to keep it performing at its best. Washing your electric bike might seem like a simple task, but doing it correctly can extend its lifespan, prevent damage to the motor and battery, and ensure a smooth, safe ride every time. This guide will walk you through everything you need to know about cleaning your e-bike safely and effectively. Why Cleaning Your E-Bike Matters Electric bikes have more components than traditional bikes, including a motor, battery, and electronic controls. Dirt, mud, and grime can build up in hard-to-reach areas, which not only looks messy but can also: Regular cleaning also keeps your e-bike looking new, preserving its value and making every ride feel fresh and safe. When Should You Wash Your E-Bike? The frequency of washing depends on where and how you ride: Quick tip: After a rainy ride, don’t wait too long to clean your bike. Mud and water can settle into the motor area and chain, making cleaning harder later. Essential Tools for Cleaning Your E-Bike Here’s what you’ll need for a safe and effective wash: Having these items ready makes the cleaning process smoother and ensures nothing is overlooked. Step-by-Step Guide to Washing Your Electric Bike 1. Find a Safe Spot Avoid washing your bike on concrete or areas where water can pool near electronics. A garage, driveway, or area with drainage works best. 2. Remove Accessories Take off removable parts like pedals, water bottles, or saddlebags. This allows you to clean every corner without damaging components. 3. Rinse Gently Use a hose with a gentle spray or a bucket of water to remove loose dirt. Avoid […]
Read more
Benefits of Cycling for Men
Cycling is more than just exercise—it’s a lifestyle. For men, riding a bike not only strengthens the body but also brings multiple mental and physical benefits. Whether commuting to work, enjoying a weekend ride, or exploring your city, cycling makes life easier, healthier, and more enjoyable. Key Benefits of Cycling for Men 1. Improves Mental Well-BeingCycling is a mood-boosting activity. Every pedal stroke helps release natural feel-good hormones, giving you more energy and focus for daily life. Riding a bike also allows you to explore new places, meet new people, and expand your social network, reducing stress and negative emotions. 2. Strengthens the Immune SystemRegular cycling activates your body’s natural defenses, keeping you healthier. Compared to spending long periods in crowded public transport, cycling is a safer and more refreshing way to get around. 3. Helps Maintain a Healthy WeightCycling burns calories while being gentle on your joints. Consistent riding helps you shed extra pounds and stay fit, contributing to a leaner, stronger physique. 4. Builds Muscle and Tones LegsCycling strengthens the legs, glutes, and calves, while also engaging your core. Over time, it improves muscle tone and overall stability, giving your body a powerful yet balanced build. 5. Supports Heart Health and Reduces Chronic RisksCycling is a full-body workout that promotes good circulation and cardiovascular health. Regular riding helps reduce the risk of various chronic illnesses, keeping your body in optimal condition. 6. Low-Impact ExerciseUnlike running, cycling is gentle on the knees and joints. It allows for long-term exercise without the risk of joint injuries, making it suitable for riders of all ages. 7. Saves Time in Daily TravelCycling doubles as exercise and a practical mode of transportation. In urban areas, it helps you avoid traffic jams and parking hassles, making your daily commute quicker and more efficient. 8. […]
Read more
E-Bike with Passenger Seat – Complete Guide
Adding a passenger seat to an electric bike opens up a world of convenience, allowing you to carry someone else while riding. Whether it’s a child, family member, or friend, having a seat designed for a passenger transforms your ebike into a versatile, practical mode of transportation. Why You Need a Passenger Seat on an E-Bike Legal Considerations Things to Consider When Buying an E-Bike with Passenger Seat Practical Uses of an E-Bike with Passenger Seat Popular Questions About Carrying a Passenger Conclusion An electric bike with a passenger seat is practical, safe, and convenient. Perfect for families, commuters, and anyone looking to travel with an extra passenger without relying on a car. When choosing one, focus on safety, comfort, weight capacity, and proper motor power to ensure a smooth and enjoyable ride.
Read more
Is Cycling Bad for Your Knees? – Explained
Cycling is generally excellent for knee health. It is a low-impact exercise that strengthens muscles around the knees without putting excessive strain on the joints. However, knee pain can occur if certain precautions aren’t taken. Understanding why knee issues happen and how to prevent them is key to safe and enjoyable cycling. Types of Knee Pain While Cycling Common Causes of Knee Pain When Cycling Special Considerations Tips to Prevent Knee Pain While Cycling Conclusion Cycling is not bad for your knees if done correctly. It is a low-impact, fun exercise that strengthens the muscles supporting your joints while promoting overall fitness. Most knee problems are preventable by adjusting bike fit, proper posture, and gradual riding habits. For anyone looking for an effective, joint-friendly workout, cycling is a top choice. If you want, I can create a quick visual guide showing correct bike setup and knee angles to prevent knee pain—it makes this info super easy to apply. Do you want me to make that?
Read more
How To Use Bike Gears – Completely Explained
Understanding how to use bike gears can completely change the way you ride. Whether you’re commuting through the city or exploring with an ecoe electric bike, gears help you ride more smoothly, conserve energy, and stay comfortable across different terrains. Once you learn how to shift properly, cycling becomes far more enjoyable and efficient. Why Do You Need Gears on a Bike? Gears are not just a feature—they are essential for a better riding experience. Ride Longer with Less EffortGears allow you to adjust how hard you pedal. Instead of exhausting yourself, you can maintain a steady rhythm and ride longer distances with ease. Reduce Muscle FatigueWithout gears, every slope or terrain change would require extra effort. Gears help distribute that effort, reducing strain on your legs and making your ride smoother. Maintain Comfortable PedalingNo matter if you’re going uphill, downhill, or cruising on flat roads, gears help you maintain a consistent and comfortable pedaling speed. How Do Bike Gears Work? Bike gears work by moving the chain between different-sized rings. This changes how much effort is needed to pedal. When you shift, the chain moves across the cassette (rear gears) or chainrings (front gears), adjusting resistance and speed. How To Shift Gears on a Bike Most bikes, including ecoe electric bike models, have two shifters: Basic Shifting Guide: Practical Tips for Using Bike Gears Shift Before You Need ItAnticipate terrain changes. Shift to an easier gear before climbing, not during. Ease Off the Pedals When ShiftingReducing pressure while shifting helps the chain move smoothly and prevents wear. Avoid Cross-ChainingDon’t use extreme gear combinations (like the biggest front gear with the biggest rear gear). This strains your drivetrain. Find Your CadenceKeep a steady pedaling rhythm. If pedaling feels too hard or too easy, shift gears to find balance. Downhill StrategyShift […]
Read more
Why Your Bike Chain Keeps Falling Off & How to Fix It
A bike chain falling off might seem like a minor inconvenience at first, but if it happens frequently, it can turn into a frustrating issue that interrupts your rides. Whether you’re out on an adventure or just commuting, constantly stopping to fix the chain is not only annoying but can also be dangerous. Understanding why your chain keeps falling off and how to fix it is crucial to keep your bike running smoothly. How Does the Bike Chain Work? The bike chain works in conjunction with several components to transfer your pedaling power to the wheels. It works with the chainring, derailleurs, cassette, and crank pedals. When you pedal, the crank rotates, causing the chain to move. The teeth on the chainring catch the links of the chain, and as the chain moves, it engages the cassette at the rear wheel, causing the wheel to turn. The derailleurs help move the chain between the gears as you shift. Top Reasons Why the Bike Chain Keeps Falling Off There can be many reasons for your bike chain falling off, but the most common issues include: How to Fix a Bike Chain That Keeps Falling Off Once you identify the cause of your chain issues, there are several steps you can take to fix it: Conclusion A malfunctioning bike chain can cause significant frustration, but with proper maintenance and troubleshooting, you can keep your bike running smoothly. From cleaning the chain to replacing worn-out parts, there are several DIY solutions to fix a chain that keeps falling off. However, if you’re unsure or if the problem persists, it’s always a good idea to consult a professional bike mechanic. By staying on top of maintenance, you can avoid unexpected issues and enjoy your rides without interruption.
Read more
How Cycling Changes Your Body
Cycling is not just a fun activity; it offers numerous health benefits that can help improve both your physical and mental well-being. In a world where stress and unhealthy habits dominate, cycling can be a refreshing and effective solution to improve your body shape and overall health. If you’re someone who dislikes traditional workouts like yoga or the gym, cycling may be the perfect alternative to get you back on track. Here’s how cycling changes your body: Top 10 Positive Effects of Cycling on Body Shape Women vs. Men’s Cycling Transformation Cycling has different effects on men and women due to differences in body composition and muscle distribution. Frequently Asked Questions About the Effects of Cycling on Body Shape Conclusion Cycling is a fun, effective, and accessible way to improve your body shape and overall health. Whether you’re looking to tone your legs, lose weight, or improve your mental health, cycling offers numerous benefits for both men and women. By incorporating cycling into your routine, you can achieve a stronger, leaner, and healthier body while enjoying the many mental benefits it provides.
Read more1
-